Start by cutting some of the sticks in half and stagger the rows of sticks by gluing a full length stick to a half like layers of bricks.
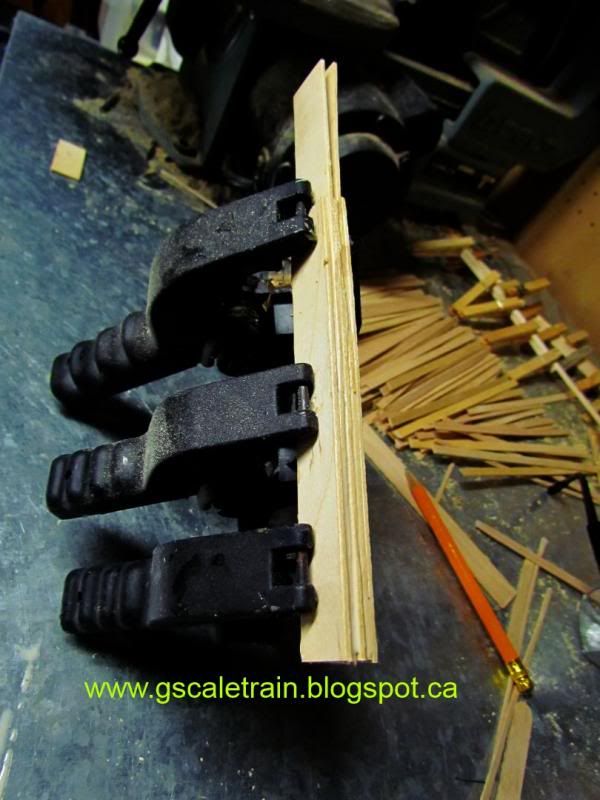
It takes a lot of gluing to attach hundreds of sticks in a row, never mind doing it 4 times!!! It took me 3 months of gluing in front of the television every other night to get them all done. One of the biggest problems is getting them all to be straight. You will also notice that the longer you make the beam the more flexible the whole thing becomes. My secret weapon was two 3/4" x 3/4" x 1/16" thick Aluminum 'L' Channels.
I used the channels to place the wet glued sticks inside while I clamped everything together (you can pry the metal away later). By doing this everything will stay neat and straight. The long beams can be sanded later to remove blemishes.
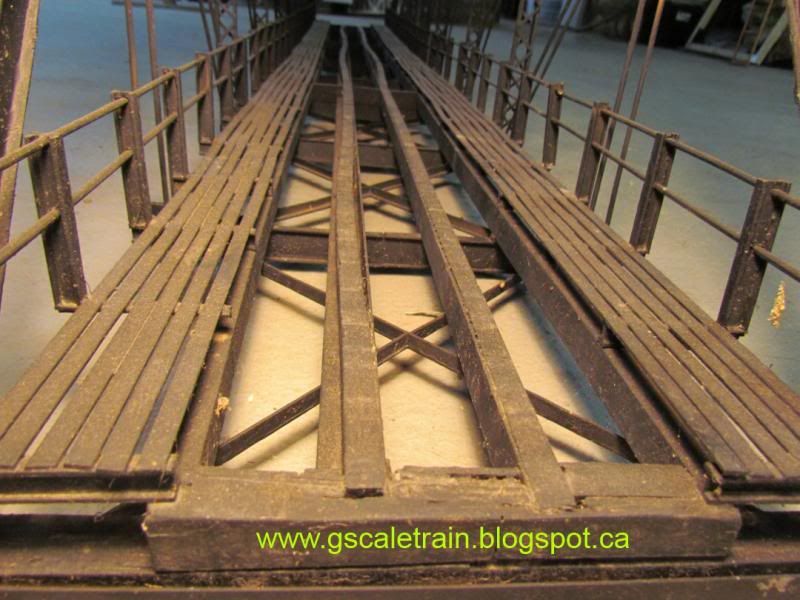
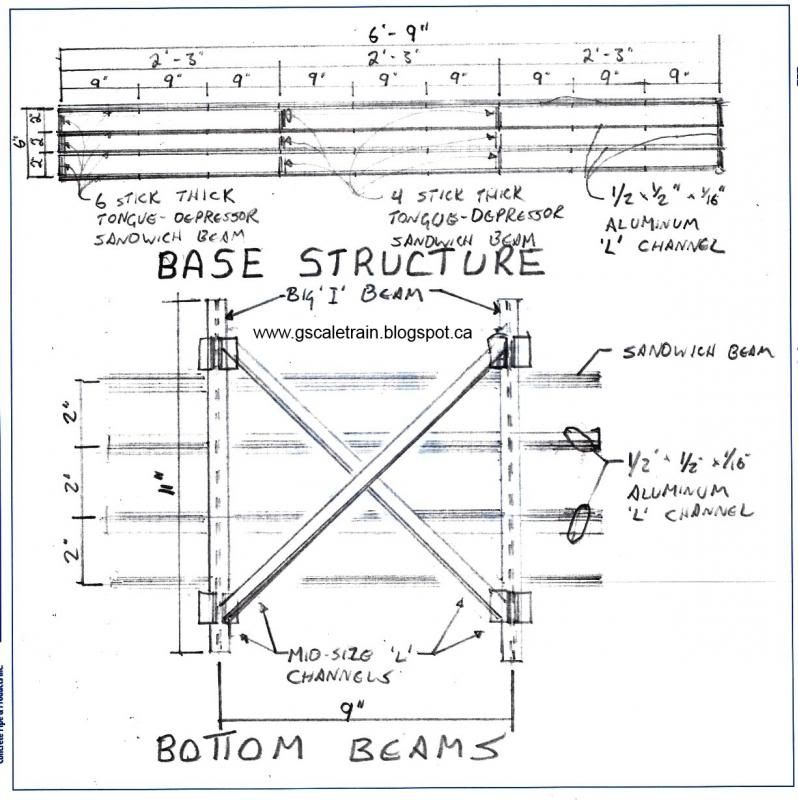
When the 4 lengths are completed, cut the aluminum channel the length of the beam (6'-9"). Drilling a hole through the aluminum and the wood beam then bolt them together 1/4" from ends and every 2'-3" to strengthen the wood.
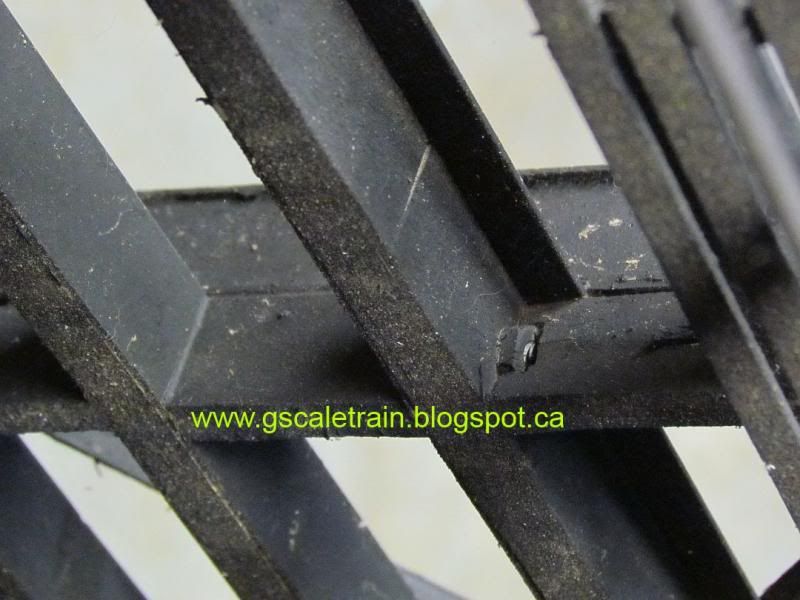
I did this for the two center beams because the train track sits directly on top. I encased/hid the bolts with 4 stick thick sandwich beams at 2'-3" & 4'-6". The long sandwich beams at 2" apart on center so the in-between 4 stick beams were cut at 1 5/8". I carved out the ends to fit around the nut and bolt to hide them.
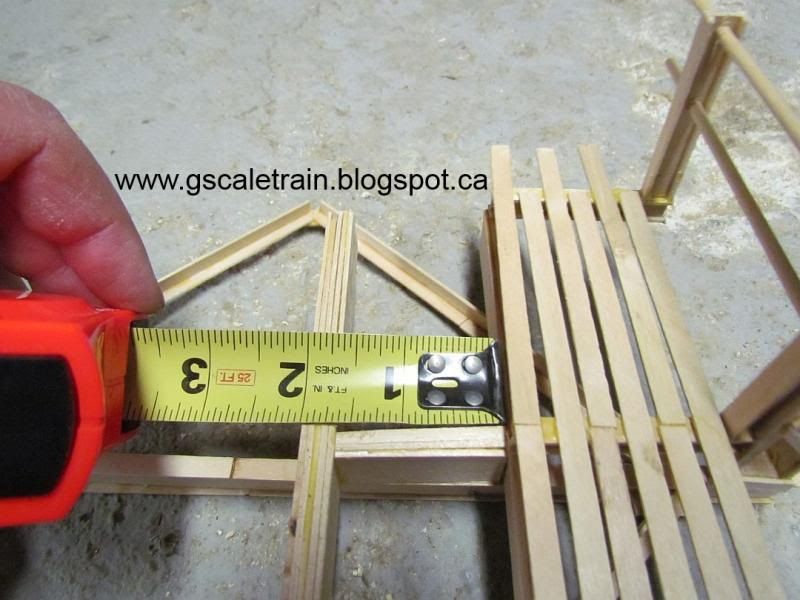
For the ends of the long beam I used a 6 stick thick sandwich which gave me a great opportunity to tidy up uneven/ugly ends.
Underneath the ends attach 12" long 6 stick sandwich beam bolted inside 12" of aluminum channel. This is the surface that the bridge will be resting on so don't be shy to use extra bolts and nail to secure it to the bottom of your structure.
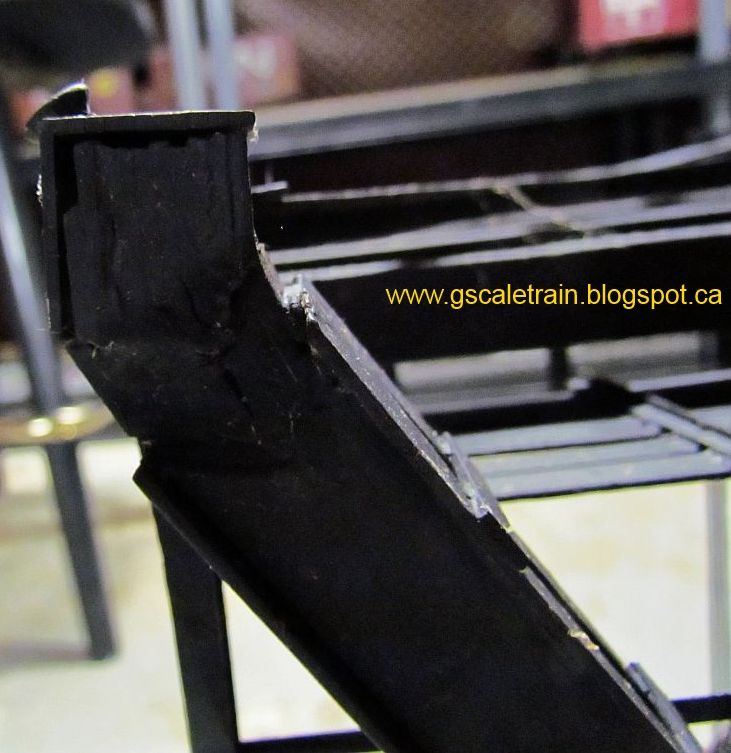
Big 'I' Beams
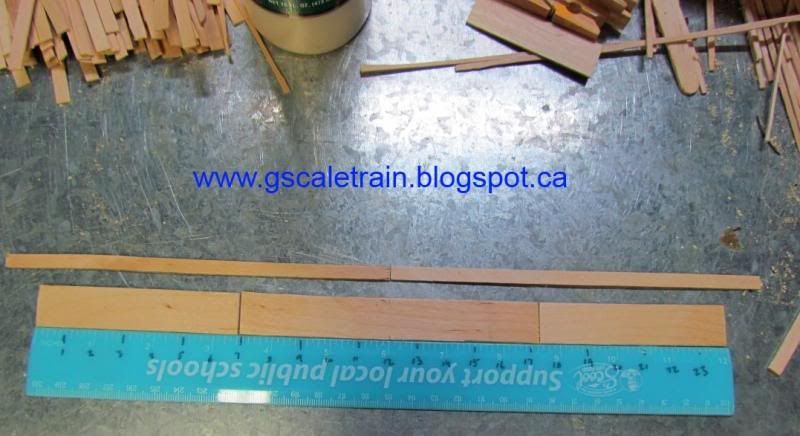
The ten 'I' beams are going to be 12" long. By now you have realized that the tongue depressors are 5 1/4" long and the stir sticks are 6 3/4" long. Marking the middle of the tongue depressor glue the edge to the abutting stir sticks.
Cupping the edges of the stir sticks in circular indents on the clothes pegs fasten the one side together with multiple clothes pegs.
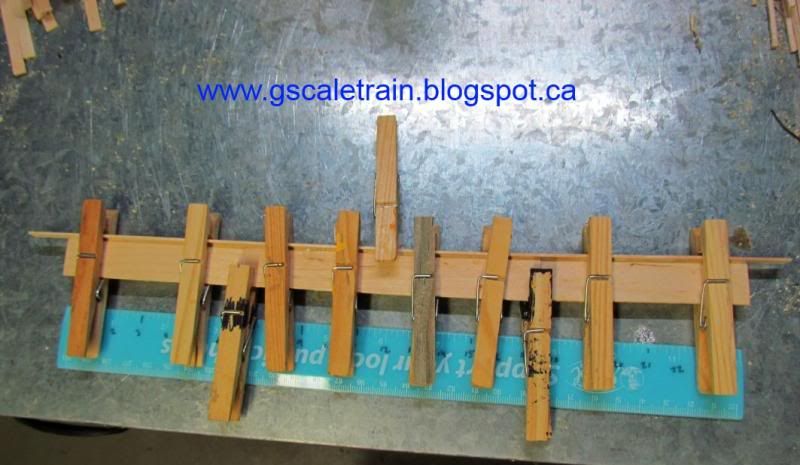
After letting it dry you can use the same method to attach the second side or you could break-out the big clamps.
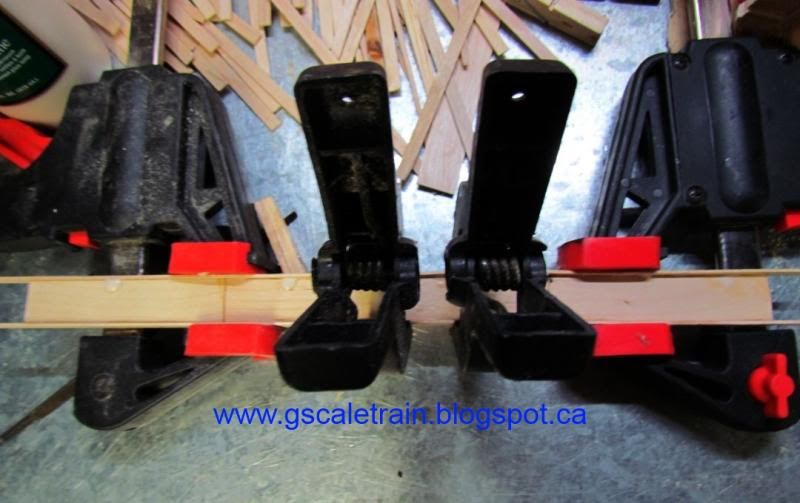
Once all the 'I' Beams are done attach them to the bottom of our sandwich beams. Go to center the 'I' Beams so roughly 2 5/8" project from each side. Each one is going to be 9" apart with the third ones lining up under the 4 stick cross pieces. These are going to be glued and clamped in place.
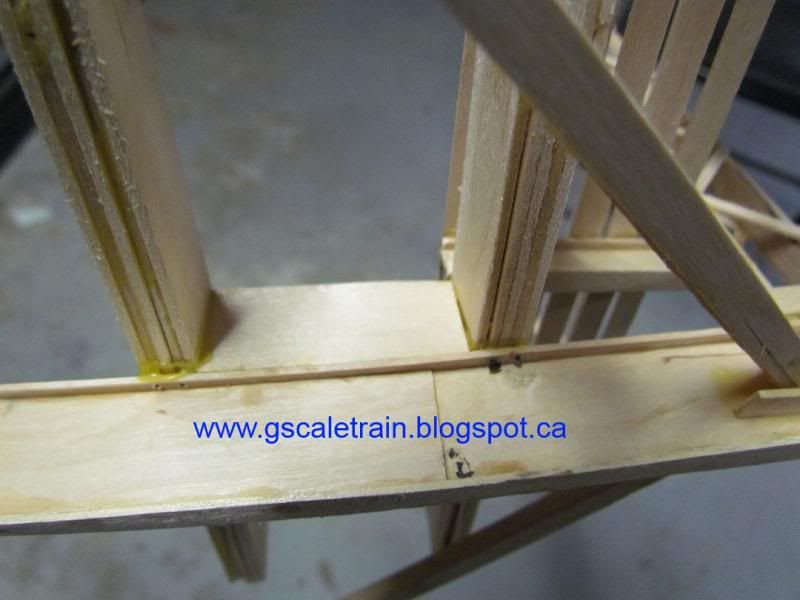
Once dry, I use my precision hand drill to bore holes for HO track nails to prevent the popsicle sticks from splitting.
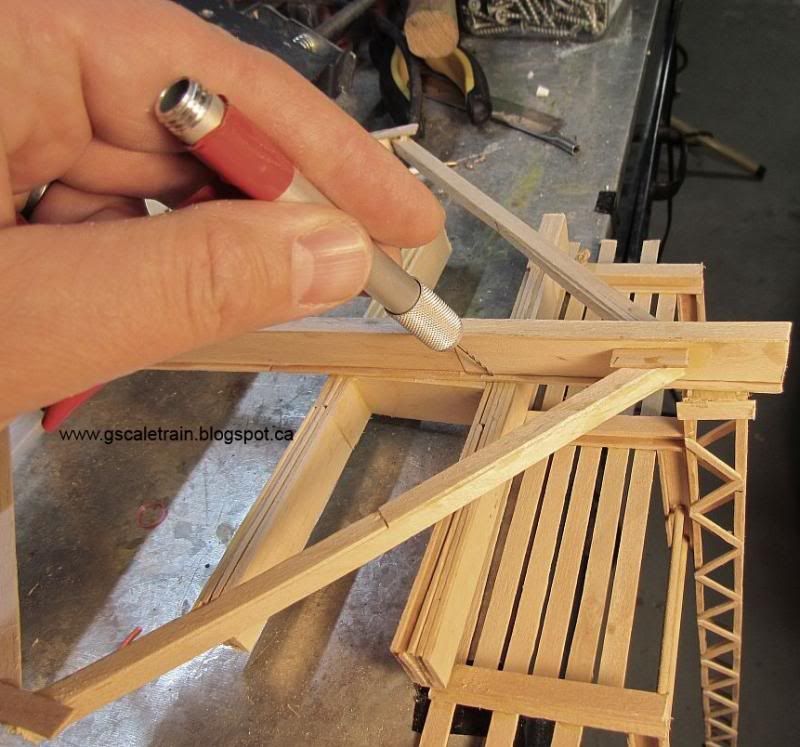
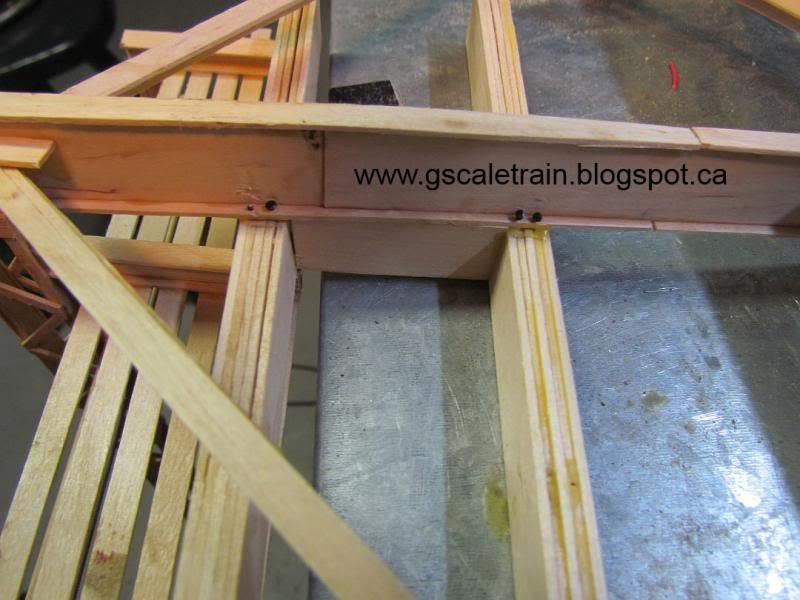
I cut the HO track nails in half because they bend very easy when nailing them. I used 2 nails each side at each connection point since the contact surface is so small.
I realized I covered a lot of work but next Bridge Blog I am going to talk about 'L' Channels and the base cross supports to finish our base structure.
CLICK HERE TO RETURN TO Popsicle Stick Bridge - Part 2
CLICK HERE TO GO TO Popsicle Stick Bridge - PART 4
CLICK HERE TO SEE COMPLETED BRIDGE
No comments:
Post a Comment